Camera and photography gift guides for beginners and kids.
Photography & Camera Guides
-
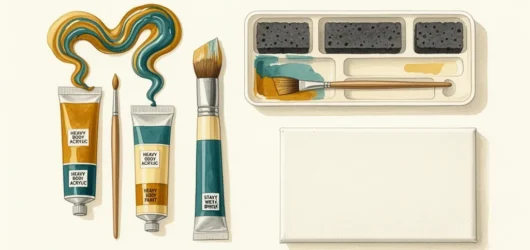
Acrylic Painting Gifts for Beginners: Skip the 50-Tube Kit
The best acrylic painting gifts for beginners skip the 50-tube kit: heavy body paint, three real brushes, a stay-wet palette,…
-
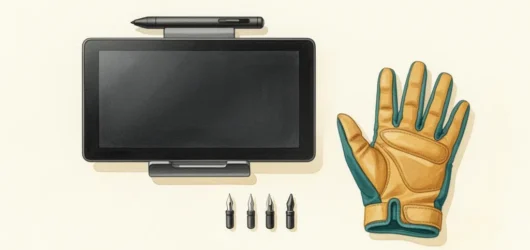
Digital Art Gifts for Beginners: Tablet, Screen, or iPad?
The best digital art gifts for beginners, decoded: screenless tablet, pen display, or iPad? Three questions pick the right tier…
-
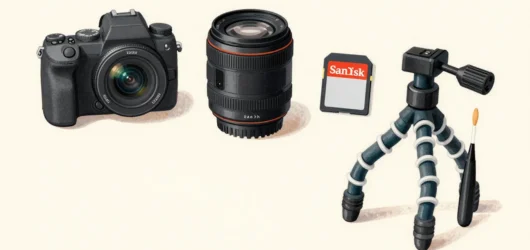
Best Mirrorless Camera Gifts for Beginners: Body, Lens, or Both?
Shopping mirrorless camera gifts for beginners? Avoid the ecosystem trap. Our picks span Canon, Sony, Fujifilm & Nikon with budget…
-

Ceramics Gifts for Adult Beginners: What They Need vs. What Looks Good
Shopping ceramics gifts for adult beginners? We separate what studio and home potters actually use from the impressive-looking gifts that…
-
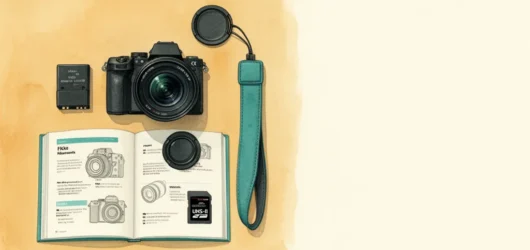
Gifts for Beginner Photographers That Actually Build Skills
The best gifts for beginner photographers in 2026 — chosen to reduce friction and build real skills, not collect dust.…
-

Gifts for Aspiring Writers: What Helps Finish a First Novel
Gifts for aspiring writers, matched to where they’re stuck. Skip the leather journal and branded mugs; give the craft book…