Add up what the person you’re shopping for spends on Google One, iCloud, and a cloud backup service. That math lands somewhere between $40 and $70 a month — $500 to $840 a year — for storage and sync they don’t control and can’t customize. A Raspberry Pi 5 home server replaces most of it for a one-time cost of around $130, runs open-source software that the gift recipient actually owns, and teaches a technical skill that compounds over years.
The problem with buying this as a gift is that the category is full of well-intentioned misfires: boards with no case, kits with no storage, power supplies that throttle the processor at first boot. Every one of those gaps sends a beginner to a troubleshooting forum instead of to their first working app. This guide is built to eliminate those gaps specifically.
What follows is a set of picks that work together as a complete system, not a parts list. Whether you’re buying a single all-in-one kit or assembling the better long-term build piece by piece, every card here has been chosen with a first-time self-hoster in mind — someone who wants to run their photos on their own hardware, not someone who enjoys spending weekends in a terminal.
How we select these gifts
- Specialty retailers and community channels first: We cross-reference availability at Micro Center (the benchmark specialty retailer for single-board computers) against what practitioners recommend in r/raspberry_pi, r/selfhosted, and r/homelab. Products that show up in both places — stocked by a retailer whose buyers know the hardware, recommended by people who’ve actually broken a build — get the heaviest weight.
- Community consensus on hardware compatibility: Pi 5 NVMe boot is a specific technical requirement with a specific set of drive and case combinations that are known to work. Picks in this guide reflect the cases, drives, and power supplies that appear repeatedly in confirmed-working build threads, not specs on a product page.
- Beginner stage fit: The target recipient has strong technical curiosity but has never run a Linux server. That means: prefers a GUI over a terminal, doesn’t want to diagnose undervoltage warnings at 11 PM, and needs first-app success within an hour of first boot. Every pick is evaluated against that profile — complexity is only acceptable when the alternative creates more fragility.
- Budget range: Picks span $8.99 to $135.99. The minimum viable build (all-in-one kit plus Ethernet cable) comes in under $150. The full recommended build with NVMe and UPS protection runs around $295.
- Skip-this guidance: Where a popular option is wrong for a beginner — or wrong for the Pi 5 specifically — we say so and explain the technical reason.
How We Picked These Raspberry Pi Home Server Gifts
The Raspberry Pi 5 and the Pi 4 look similar on a spec sheet. They are not the same gift. The Pi 4 has no dedicated PCIe lane — it shares USB bandwidth for all storage, which is why NVMe boot on a Pi 4 requires workarounds that frequently break on kernel updates. The Pi 5 has a dedicated PCIe Gen 2 lane that routes directly to the M.2 slot in a compatible case. That single hardware difference is why the Pi 5 is the only board worth buying for a home server build in 2026, even though it costs roughly $20 more than a comparable Pi 4 kit.
Storage is the other gate. MicroSD cards are designed for cameras and phones — sequential reads and writes with long idle periods between them. A home server running Immich or Nextcloud performs thousands of small random reads and writes per hour. Real-world data from r/selfhosted shows SD card failures on Pi home servers in as little as 12 months under normal use. NVMe solid-state drives handle that workload across a 5-year warranty period. This guide makes NVMe the default for the DIY build and calls out the SD limitation honestly in the all-in-one kit card.
Power supplies are the most frequently skipped and most frequently blamed component in beginner builds. The Pi 5 uses a USB-PD negotiation protocol to request 5 volts at 5 amps from its power supply. Supplies that can’t complete that handshake get silently downclocked and flagged with a undervoltage warning in the system log. At $13, the official 27W supply is cheaper than the forum hours a cheap third-party unit will cost.
The Best All-in-One Starter: CanaKit Pi 5 PRO Kit
If the person you’re shopping for has never opened a single-board computer project before and you want to hand them one box that gets them from unboxing to a running server without a single Amazon tab open — this is that box. CanaKit has been the standard beginner kit vendor in the Pi community for years, and the PRO kit for the Pi 5 carries that reputation forward with a current, purpose-built configuration.
The 8GB RAM variant matters here. Home server apps are memory-hungry in ways that aren’t obvious from marketing copy. Immich alone recommends 4GB for its machine-learning photo classifier. Running Immich alongside Nextcloud and a couple of containers on a 4GB board means the system starts paging to disk during routine sync jobs, which slows everything down and accelerates SD card wear. The 8GB board gives a beginner room to run a real multi-app setup without hitting memory limits in month two.
The honest limitation is the 128GB microSD card. For a first server hosting a modest photo library and a few apps, 128GB is workable. For someone migrating 40,000+ photos from Google Photos, it isn’t. If the recipient is likely in that category, the DIY bundle with a 1TB NVMe drive is the better pick even if it takes 30 minutes longer to assemble.
The DIY Bundle: Board + Case + SSD (Best Long-Term Value)
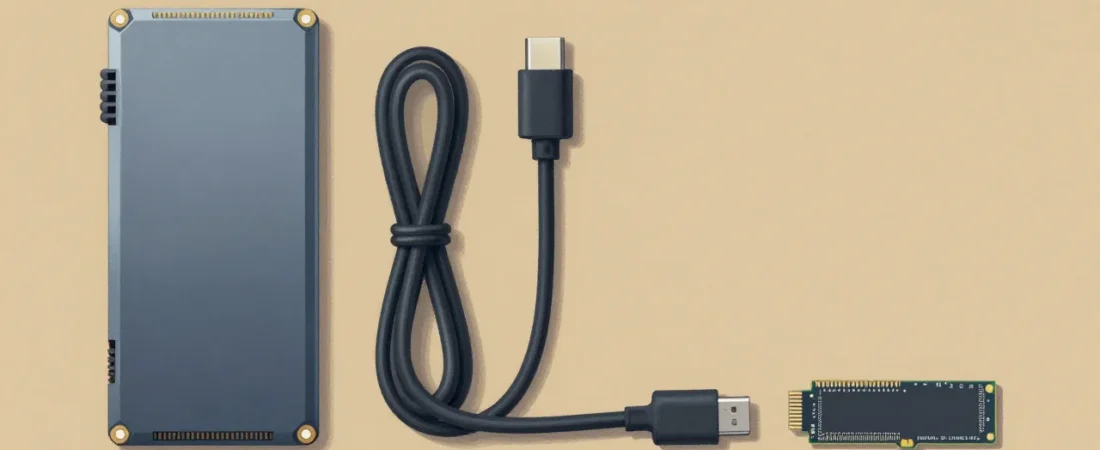
The three-piece combination of the Raspberry Pi 5 8GB board, the Argon ONE V3 M.2 case, and the Samsung 990 EVO 1TB SSD is the build that shows up most consistently in r/selfhosted “what should I get” threads when someone specifies they want NVMe boot on a Pi 5. Each piece is doing something specific that the all-in-one kit cannot.
The Argon ONE V3 deserves a closer look because cases usually don’t matter much. This one does. It routes the Pi 5’s PCIe Gen 2 bus — think of PCIe as a direct, high-speed data highway built into the processor — through a precision impedance-controlled flat cable (included) to an M.2 NVMe slot inside the case. “M.2 NVMe” simply means the same type of fast solid-state drive found in most laptops since 2020: a small stick-shaped drive that plugs into a slot rather than using a cable. The case also moves the HDMI ports to a rear panel (a real quality-of-life change on a desk server) and includes active fan cooling and passive aluminum heatsinking in one enclosure.
The Samsung 990 EVO at 1TB is the specific drive to buy here, not a generic NVMe recommendation. It has the most confirmed-working boot reports on Pi 5 across r/raspberry_pi hardware threads, uses Samsung’s well-documented NVMe firmware that plays cleanly with the Pi 5’s PCIe implementation, and carries a 5-year warranty. At ~$80, it is cheaper per gigabyte than the 128GB SD card in the CanaKit bundle and will almost certainly outlast the beginner’s interest in the Pi before it fails.
The Foundation Pieces: PSU and Ethernet (Don’t Skip These)
Two items in this guide are unsexy and essential. The official 27W USB-C power supply and a short flat Cat6 cable are the components most likely to be left out of a gift because they look like afterthoughts. They are not afterthoughts. They are the reason the rest of the build works reliably.
The undervoltage problem is real and specific: the Pi 5 requires a power supply that can negotiate the USB Power Delivery protocol and deliver a full 5 volts at 5 amps. Most USB-C chargers — including many branded as “65W” laptop chargers — cannot complete that PD handshake at 5V/5A. The result is a Pi that boots, runs, and silently throttles itself whenever the CPU load spikes. Beginners spend hours in forums thinking they have a software problem when they have a $13 power problem. The official Raspberry Pi Foundation supply is the only one guaranteed to pass the Pi’s own PD negotiation test.
Wi-Fi fails on home servers in ways that are maddening to diagnose. A brief 2-second channel dropout at 2 AM doesn’t register anywhere visible, but it’s enough to stall an Immich background sync job that then restarts from scratch. Nextcloud desktop sync clients report conflicts and partial uploads. The symptom always looks like an app problem. The cause is almost always the wireless connection. A 1-foot flat Cat6 cable costs $9 and eliminates an entire category of intermittent failures that would otherwise consume hours of beginner troubleshooting time.
The Upgrade Add-On: UPS HAT
A UPS — uninterruptible power supply — is what keeps a server running through a brief power interruption. The HAT (Hardware Attached on Top) format means it connects via pogo pins directly to the Pi 5 without consuming any of the GPIO header pins needed for other add-ons. It is the last piece in a complete beginner build and the piece most people skip until they have a reason to regret it.
Here is the specific failure mode it prevents. Linux writes data in sequences that assume the power stays on until the write completes. The ext4 filesystem that Raspberry Pi OS uses has a journal that helps recover from interrupted writes, but it doesn’t prevent them entirely. A power cut mid-write to an Immich database or a Nextcloud file index can produce corruption that requires hours to diagnose and repair. That’s the kind of experience that ends a beginner’s self-hosting journey. The Waveshare UPS HAT (E) provides at least 30 minutes of bridge power and includes an I2C fuel gauge — a small monitoring chip that lets the system read its own battery level and script a graceful shutdown when the battery drops below a safe threshold.
This is a “complete the infrastructure” gift rather than a “get started” gift. Give it alongside the main build for a recipient who is serious about running a server long-term, or recommend it as a follow-up once they have the base system running and love it.
Five First Apps That Make This Gift Feel Magical
The hardware is the gift. The apps are the reason the hardware matters. All five of these run on a Pi 5 8GB inside CasaOS or Umbrel — two graphical operating environments designed to make Docker containers look like an app store. The recipient installs an app with one click, a Docker container runs underneath, and they never see a terminal command. That is intentional. The Docker layer is what makes self-hosting portable and reproducible, but beginners shouldn’t need to know that on day one.
Immich is the one app that consistently converts skeptics. It replicates the Google Photos experience — automatic phone backup, facial recognition, location clustering, a timeline view — on hardware the recipient owns. A library of 40,000 photos backed up by Google Photos today can be migrated to Immich in a weekend. After that migration, the $3/month Google One storage tier is gone. On the Pi 5 8GB, Immich’s machine-learning features (face tagging, CLIP search) run noticeably slower than Google’s server farm, but they run. For a 1TB NVMe build this is the flagship use case.
Nextcloud replaces Google Drive, Google Docs (via the Collabora or OnlyOffice plugin), and Dropbox. It is more complex to set up than Immich and more powerful — shared folders, calendar sync, contacts sync, and document editing all live inside one container. The caveat for beginners is that the Nextcloud admin panel has enough settings to cause confusion. Umbrel’s one-click installer handles the initial configuration; the recipient will eventually want to read the Nextcloud documentation, but they don’t need to on day one.
Home Assistant turns the Pi 5 into a smart home hub that runs locally — no cloud subscription, no vendor dependency, works even when the internet is down. It integrates with Zigbee, Z-Wave, Philips Hue, IKEA Tradfri, and hundreds of other devices. For a recipient who has any smart home devices and has been frustrated by app fragmentation or privacy concerns, this alone justifies the entire build.
Jellyfin is a personal Netflix — it serves your own movie and TV library to any device on your network (or outside it, with port forwarding). It handles transcoding on the Pi 5, though the 8GB board is better suited to direct-play than to heavy 4K transcode workloads. If the recipient has a large media library currently sitting on an external hard drive, Jellyfin turns that drive into a streaming server. The caveat: for heavy transcoding workloads, an N100 mini PC handles it more comfortably. Noted in the skip section below.
n8n is automation — the equivalent of Zapier, but self-hosted, free to run, and without workflow limits. It connects to Gmail, Google Calendar, Notion, GitHub, Slack, webhooks, and hundreds of APIs. A workflow that sends a morning briefing email, logs completed tasks to a spreadsheet, or monitors a website for changes can be built visually with no code. For a tech-curious recipient who has used Zapier and resented the $50/month bill, n8n on their own Pi is a meaningful capability unlock.
One more app worth naming as a starting point: Vaultwarden, the self-hosted Bitwarden-compatible password manager. It runs in under 100MB of RAM, has a perfect security track record in the self-hosting community, and eliminates the Bitwarden or 1Password subscription entirely. For a security-conscious recipient, it’s a natural first app before even touching photo libraries.
Don’t Buy These: Common Raspberry Pi Gift Mistakes
The Pi 4 is still widely available and $20 cheaper. Do not buy it for a home server build. Without a dedicated PCIe lane, NVMe boot on the Pi 4 requires an external USB adapter with its own power quirks and a boot configuration that breaks on certain kernel updates. The Pi 5 is $20 more. The PCIe lane is worth far more than $20 in avoided frustration.
Buying just the board is the most common gifting mistake in this category. A Raspberry Pi 5 board in a box with no case, no power supply, and no storage is not a gift — it is a homework assignment. The recipient has to research compatible cases, power supplies, and storage before touching the board. That gap turns enthusiasm into a multi-week stall. Always add at minimum the official PSU and either the CanaKit kit (all-in-one) or the Argon ONE V3 case and an NVMe drive.
Cheap third-party power supplies are not a budget option. They are a support ticket. The Pi 5’s USB-PD requirement is specific enough that generic adapters — even ones that technically output 5V — frequently cannot negotiate the correct current delivery. The undervoltage throttle is invisible to the user and makes every app feel slower than it should. Skip the no-name USB-C charger and use the official PSU.
For the same reason, do not buy a Pi 5 kit and leave it as an SD-only build if the recipient has a large photo library they plan to migrate. The SD card will hold the apps fine for months. It will not hold 50,000+ photos reliably for years. If photo backup is the stated use case, the NVMe build is the right gift even if it costs $130 more.
The Upgrade Path: How a $130 Gift Grows Into a Homelab
The skill set a beginner builds running Immich and Nextcloud on a Pi 5 — Docker basics, network configuration, reverse proxy concepts, systemd services — transfers directly to the next hardware tier. The natural upgrade from a Pi 5 home server is an N100 mini PC: an Intel Celeron-class x86 machine that runs the same software stack, costs $150–200, handles 4K Plex transcoding that the Pi struggles with, and supports more storage expansion. The move from Pi to N100 is not starting over; it’s moving a working Docker Compose file to faster hardware.
The community that supports this journey is r/selfhosted — 2.3 million members as of early 2026, actively indexed, beginner-friendly, and organized by flair. The “I just set up my first server” posts get genuine, detailed responses. The wiki contains vetted setup guides for every app listed in this post. A recipient who gets stuck won’t stay stuck long.
HobbyRamp publishes an intermediate self-hosting guide for readers who have outgrown their Pi 5 and are ready to evaluate N100 hardware, network-attached storage, and Tailscale for secure remote access — that is the natural next step once the beginner stage is complete.
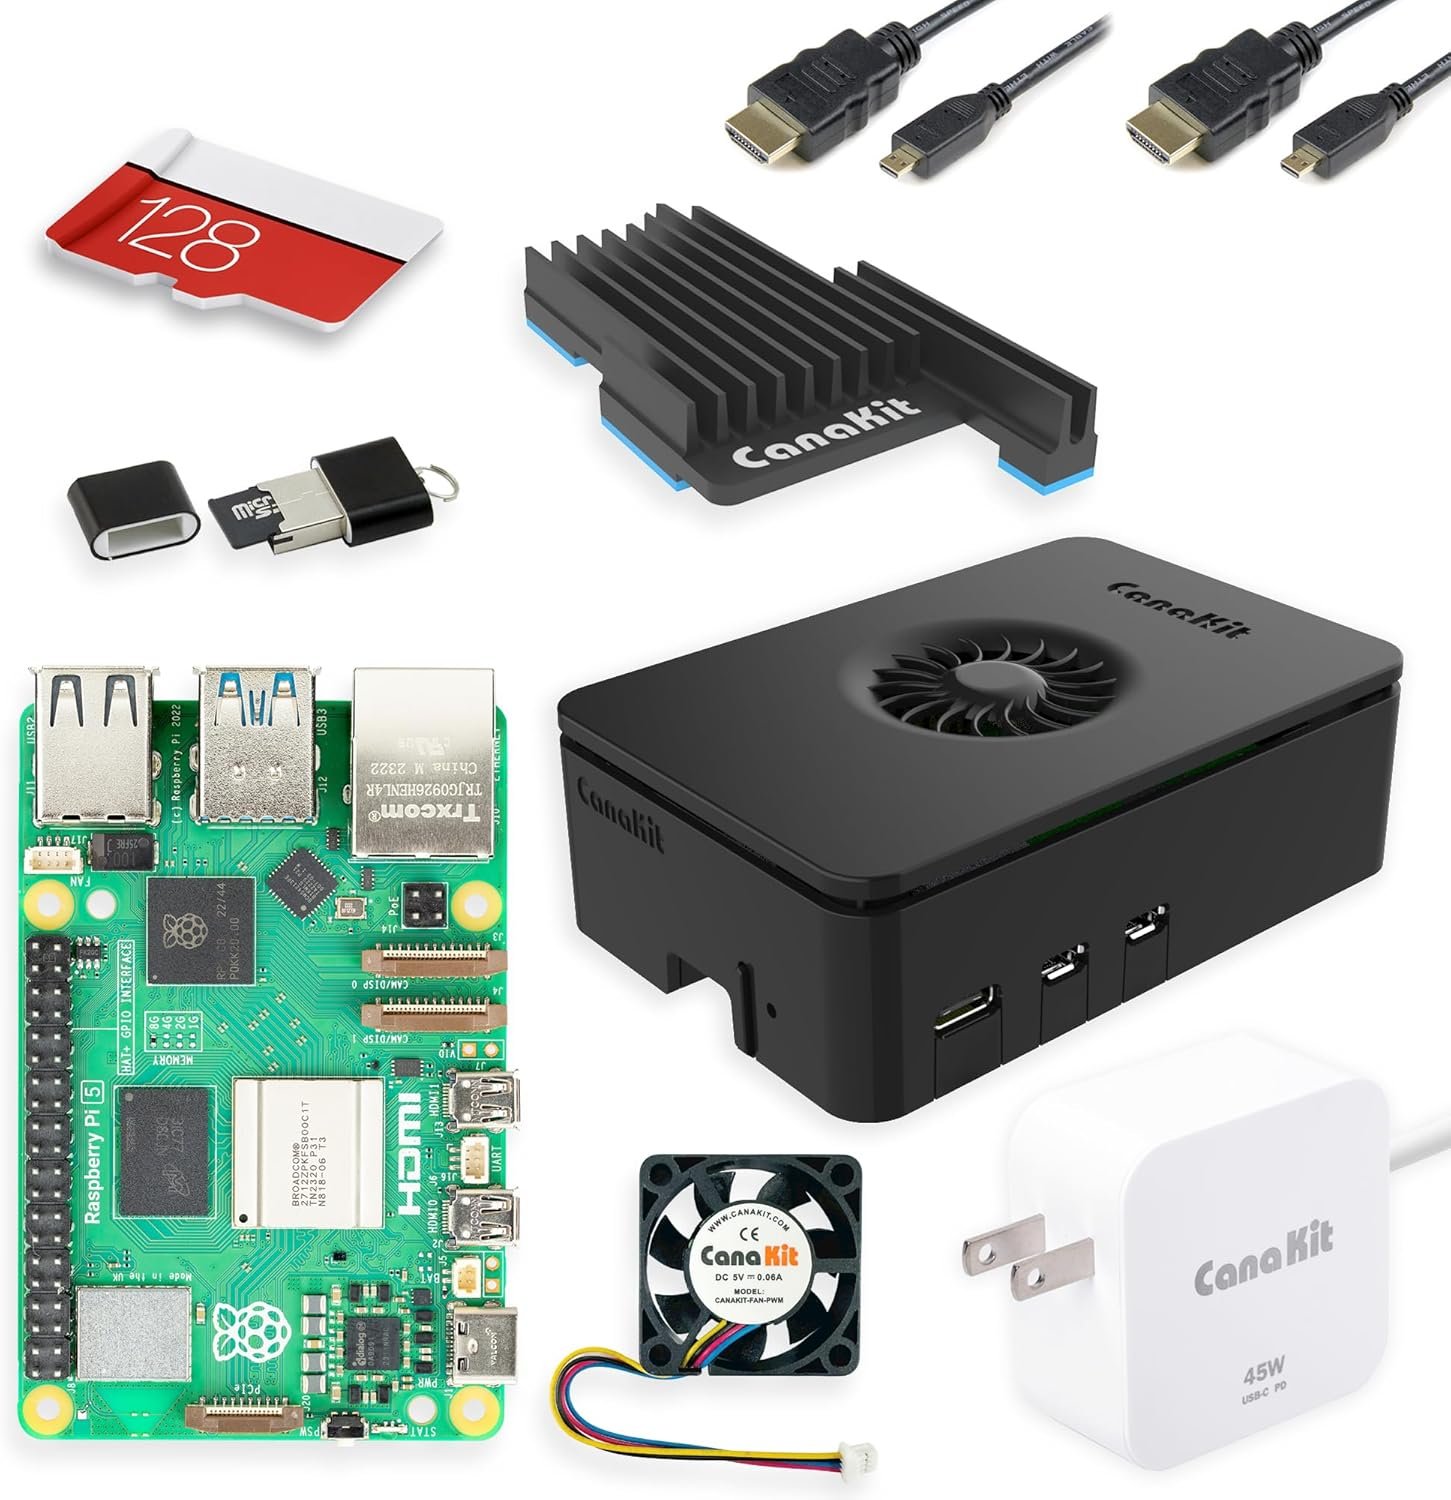
CanaKit Raspberry Pi 5 Starter Kit PRO – 8GB, 128GB
The zero-research gift option. CanaKit bundles the 8GB Pi 5 board, a 128GB preloaded microSD, a low-noise PWM fan with heatsink, power supply, and a snap-together case — everything needed to boot into CasaOS or Umbrel on day one without sourcing a single additional part. The 8GB RAM matters: apps like Immich use 3–4GB alone for their photo classifier, and the 4GB board starts hitting memory limits when running more than one or two containers. The honest limitation is storage — microSD cards fail on home server workloads in 12–18 months, and 128GB caps out before a large photo migration completes. For a first server experience with a modest library, this is the cleanest beginner gift in the category.
- Complete out-of-box experience — no additional research required
- 8GB RAM handles multi-app setups (Immich + Nextcloud + containers) without memory pressure
- CanaKit’s preloaded SD includes CasaOS-ready Raspberry Pi OS
- MicroSD storage is a real ceiling — expect failures within 12–18 months on active server workloads, and 128GB runs out quickly for large photo libraries
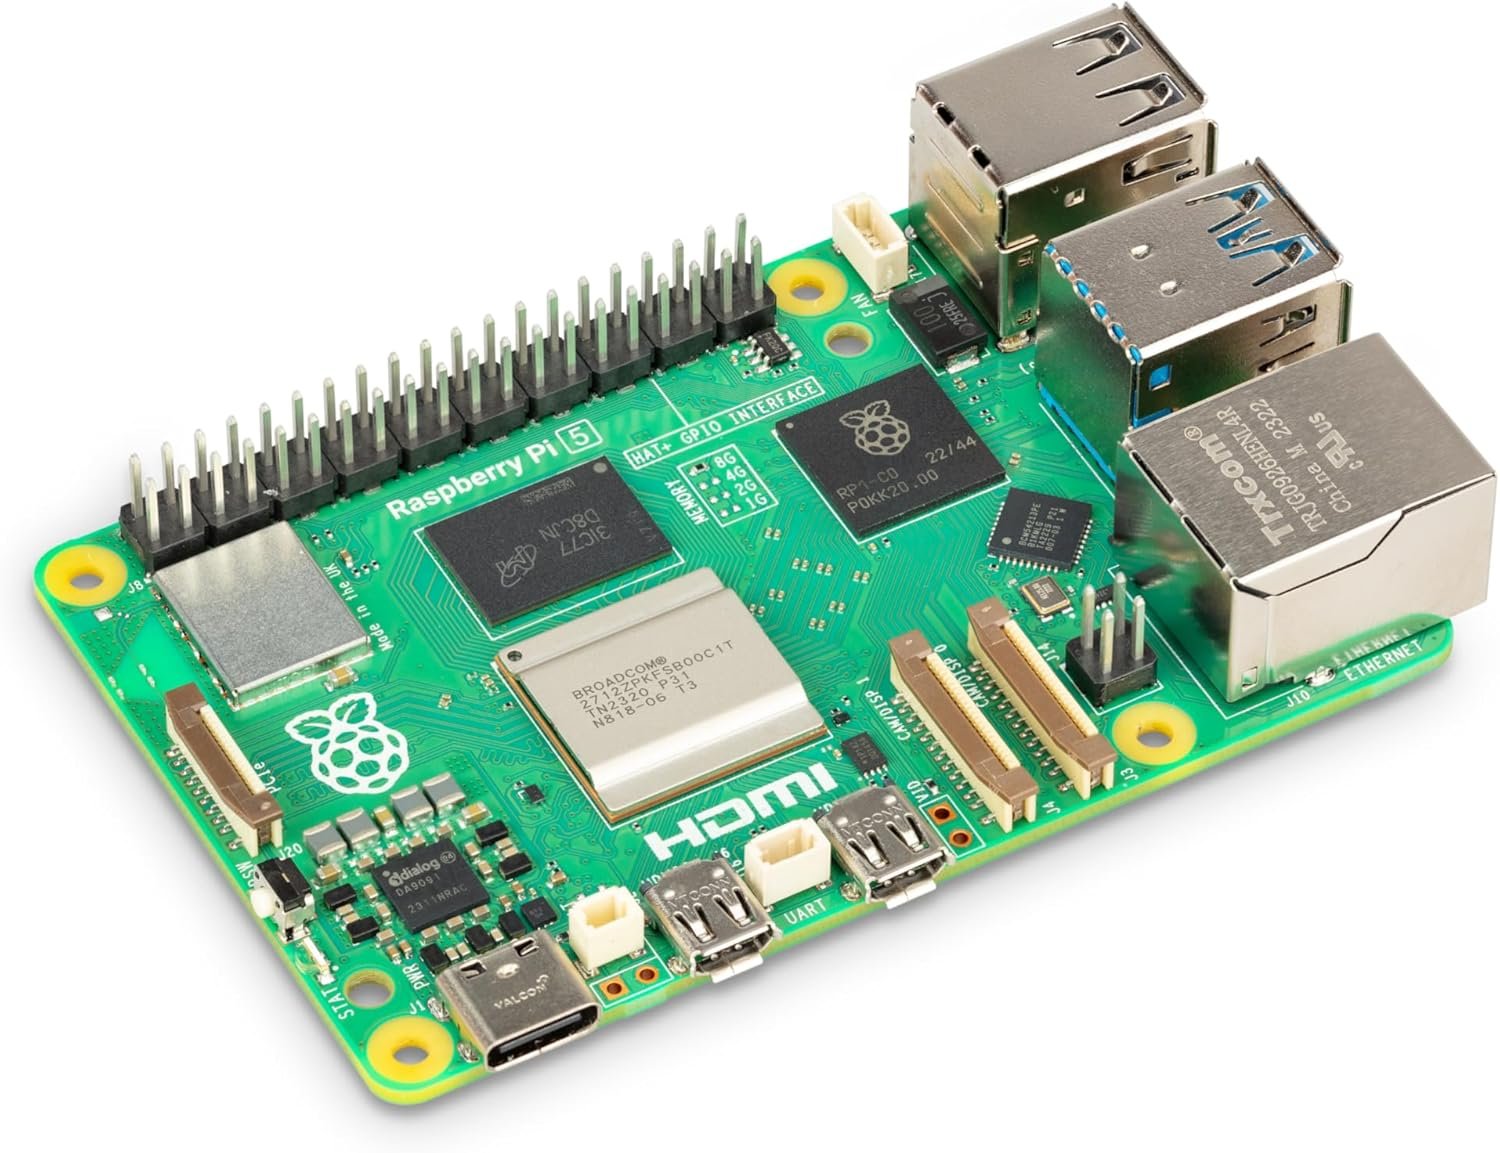
Raspberry Pi 5 8GB Single-Board Computer (SC1112)
The cornerstone of the DIY NVMe build. The Pi 5 is the only Raspberry Pi board with a dedicated PCIe Gen 2 lane — a direct, high-speed data connection from the processor to the storage slot in the Argon ONE V3 case. Without that lane (which the Pi 4 lacks), NVMe boot requires workarounds that break unpredictably. With 8GB of RAM and this PCIe connection, the Pi 5 runs Immich, Nextcloud, and n8n simultaneously without memory swapping or storage bottlenecks. Buy this board if you want full control over case and storage choices rather than the pre-bundled CanaKit configuration. Pair with Picks #3 and #4.
- Dedicated PCIe Gen 2 lane enables reliable NVMe boot — the critical hardware difference from Pi 4
- 8GB RAM supports genuine multi-app server workloads without memory pressure
- Board only — requires separate case, power supply, and storage; not a complete gift on its own
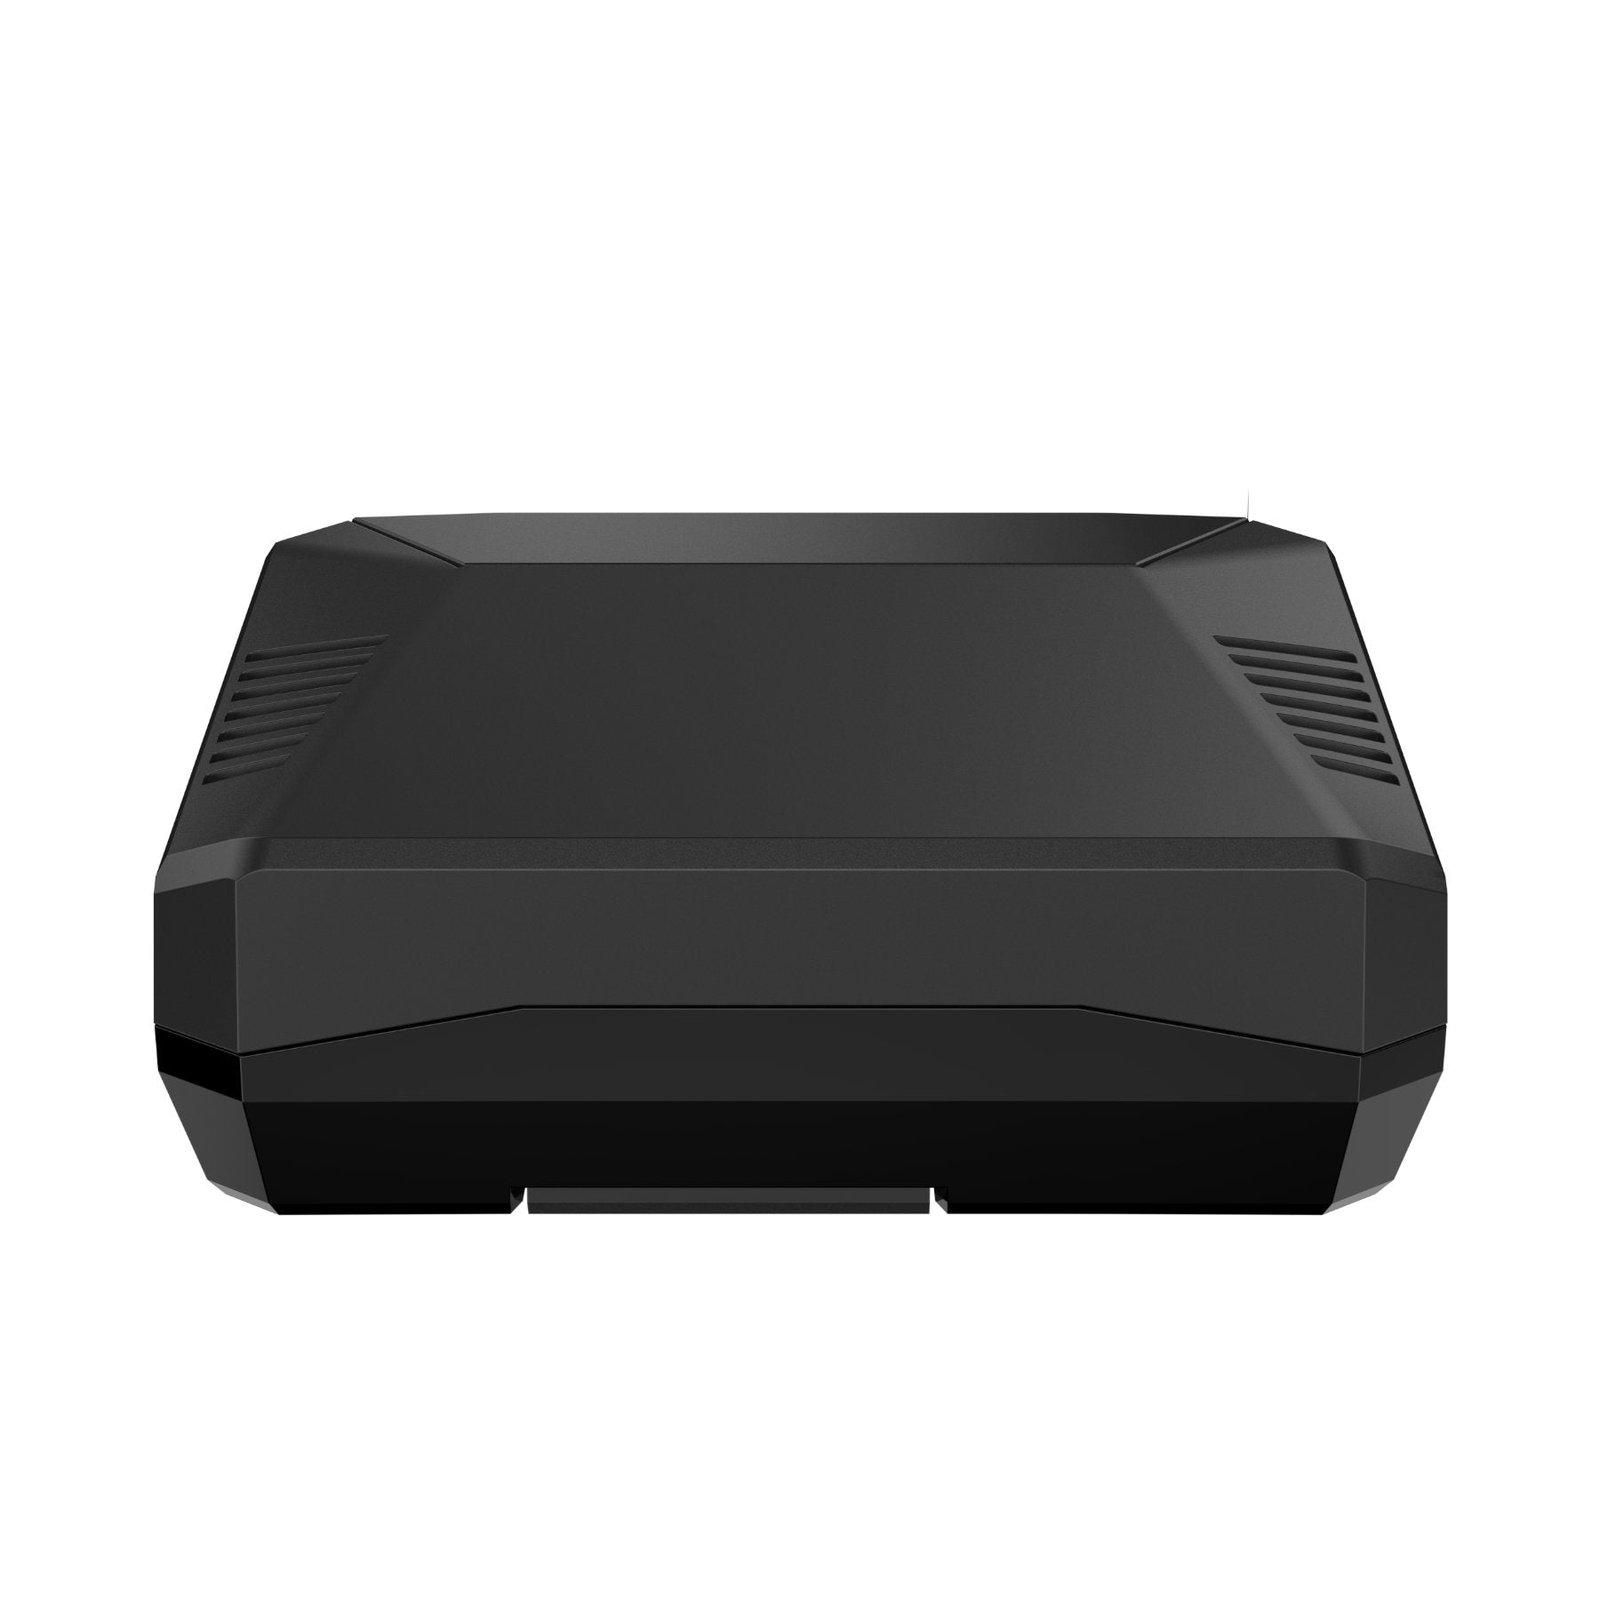
Argon ONE V3 M.2 NVMe PCIe Case for Raspberry Pi 5
The case that turns a hobbyist board into a proper server chassis. The Argon ONE V3 routes the Pi 5’s PCIe Gen 2 bus through a precision impedance-controlled flat cable — included in the box — to an internal M.2 slot that accepts standard NVMe drives (the same stick-shaped solid-state drives found in most modern laptops). The result is NVMe boot with no external adapters and no USB workarounds. HDMI ports are rerouted to the rear panel, the active fan and passive aluminum heatsink are integrated into the aluminum enclosure, and the M.2 slot sits protected inside rather than hanging off a USB port. This is a recurring recommendation across r/raspberry_pi NVMe build threads for exactly this combination of features.
- Internal NVMe slot via PCIe — no external adapters or USB workarounds
- All-aluminum enclosure with integrated active + passive cooling; rear-panel HDMI is a real desk quality-of-life improvement
- Assembly takes 15–20 minutes; the FPC cable seating requires patience and is the most common source of boot problems if not fully seated
Samsung 990 EVO 1TB NVMe SSD (M.2 2280)
The most community-validated NVMe drive for Pi 5 NVMe boot. The Samsung 990 EVO appears in confirmed-working build threads on r/raspberry_pi and r/selfhosted more consistently than any other drive at this price point — Samsung’s well-documented NVMe firmware plays cleanly with the Pi 5’s PCIe implementation in a way that some third-tier drives do not. At 1TB, there’s headroom for a full Immich library of 20,000+ full-resolution photos, a Nextcloud instance with document storage, and six or more containerized apps running simultaneously. The 5-year manufacturer warranty means this drive will outlast the beginner stage entirely and follow the recipient to their next server.
- Widest confirmed-compatibility record for Pi 5 NVMe boot across community build threads
- 1TB at this price point gives genuine long-term headroom; 5-year warranty covers the full useful life of the Pi 5 build
- Overkill for a recipient who plans only a small Nextcloud instance — a 500GB drive would suffice and cost less, though the 1TB is better long-term value

Official Raspberry Pi 27W USB-C Power Supply (US, Black)
The most important $13 in the build. The Pi 5 uses USB Power Delivery protocol to negotiate 5 volts at 5 amps from its power supply. Supplies that can’t complete that handshake — including many “65W laptop chargers” — get silently accepted at a lower current ceiling, the Pi throttles its CPU clock speed, and a low-voltage warning appears in the system log that beginners have no reason to look for. The official 27W supply is the only unit that passes Raspberry Pi’s own PD handshake test, uses 18AWG cable thick enough to prevent voltage drop under load, and is guaranteed to deliver full 5A current. It is also the most boring item on this list and worth calling out specifically because it is the easiest to skip.
- The only supply guaranteed to pass Pi 5’s USB-PD 5V/5A negotiation — eliminates an entire class of invisible performance problems
- 18AWG cable prevents voltage drop under sustained CPU load
- Not included in the bare Pi 5 board purchase; easy to forget when building the DIY bundle piecemeal
Jadaol Cat 6 Ethernet Cable 1ft – Flat, Black (10-Pack)
Wi-Fi is unreliable for a home server in ways that look like app problems. A 2-second channel dropout at 2 AM doesn’t show up anywhere the user will see, but it stalls an Immich background sync job that then restarts from scratch. Nextcloud desktop clients report conflicts. n8n webhook jobs time out. Every symptom points at the software; the actual cause is the wireless connection. A 1-foot flat Cat6 cable runs cleanly from the Pi to a nearby router or switch with no cable management drama and eliminates this entire failure category. This is the most-forgotten item on every beginner build checklist, and at under $9 for a 10-pack it is the cheapest reliability upgrade in the guide.
- Eliminates Wi-Fi-related sync failures and intermittent disconnects — the most common invisible reliability problem in beginner builds
- Flat profile runs cleanly against a wall; 10-pack means spares for future builds
- Only useful if the router or a network switch is within a few feet of the Pi; long cable runs require a longer cable and some cable management
iwconfig wlan0 power off in the Pi’s startup config.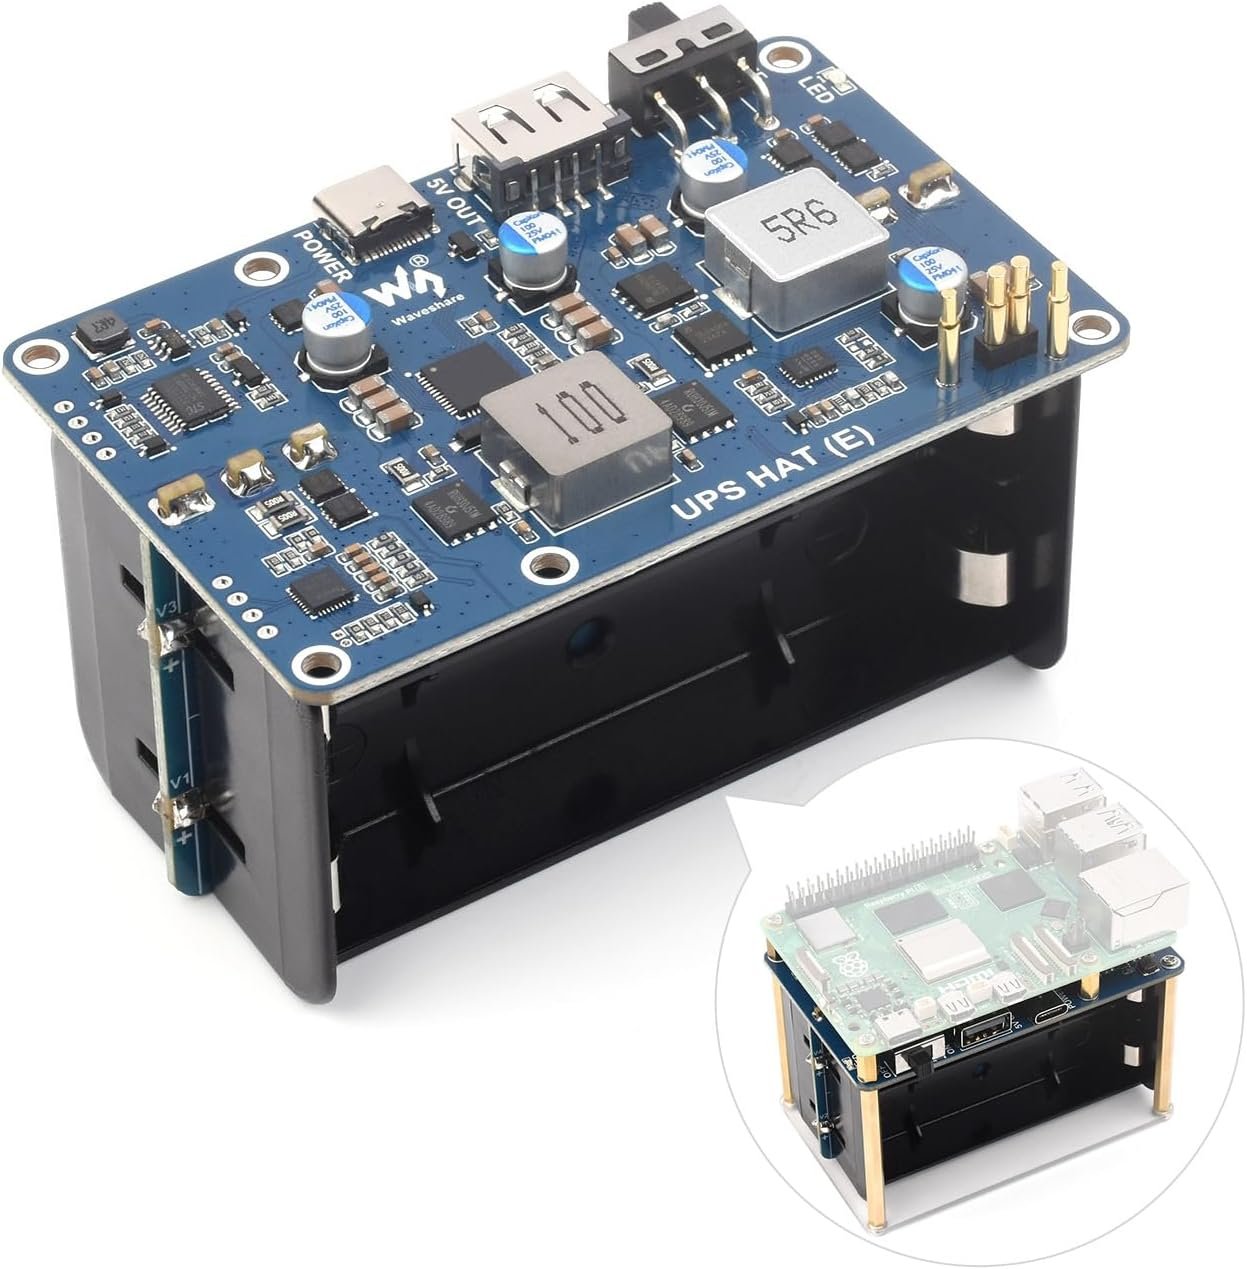
Waveshare UPS HAT (E) for Raspberry Pi 5 – 5V/6A, Pogo Pins
A power interruption mid-write can corrupt your NVMe filesystem or Immich database in a way that takes hours to recover from. That’s the failure mode that ends beginner self-hosting journeys — not difficulty, just bad luck at the wrong moment. The Waveshare UPS HAT (E) connects via pogo pins directly to the Pi 5 without consuming GPIO header pins, provides 30+ minutes of bridge power, and includes an I2C fuel gauge that lets you script a graceful shutdown when the battery drops to a configured threshold. Per r/homelab, it is the most underrated omission in beginner Pi 5 builds. The relatively low review count (53 at time of writing) reflects that this is a Pi 5-native design rather than a sign of untested hardware.
- Pogo pin connection preserves the full GPIO header for other add-ons; no stacking required
- I2C fuel gauge enables scripted graceful shutdown — converts “toy” infrastructure to production-grade reliability
- Low review count; requires batteries not included; scripting the shutdown threshold requires a short terminal session that beginners may need to look up
What to skip
If the recipient is already running Docker, has more than 3TB of media they want to serve, or specifically needs Plex with heavy 4K transcoding — skip the Pi entirely and look at an N100 mini PC (the Beelink S12 Pro and the Trigkey G5 are the current community benchmarks at $150–185). The Pi 5’s PCIe Gen 2 lane is a real NVMe interface, but it is still a single-core-bandwidth connection; transcoding multiple 4K streams simultaneously will saturate it. The N100’s hardware decoder handles that workload natively without CPU overhead. The Pi 5 is the right starting point for a first server; it is not the right tool for a media library that outgrew consumer cloud storage.
A Raspberry Pi home server is a gift of capability, not a gift of convenience. It asks something of the recipient — a few hours to configure apps, a weekend afternoon to migrate a photo library — and it gives back control, privacy, and a skill set that translates directly to the next level of technical fluency. The cloud subscription bill going from $60/month to $0 in the first month is satisfying in a concrete, measurable way that most technology gifts are not.
If you’re deciding between the CanaKit all-in-one (Pick #1) and the DIY NVMe bundle (Picks #2–5), let the photo library question make the call. Under 30,000 photos and no strong opinion on storage longevity: CanaKit. Over 30,000 photos, or any stated interest in the server lasting for years: NVMe bundle. The $60 price difference is real but the reliability difference over 18 months is larger.
If you want to pair the hardware gift with something that deepens the experience, The Raspberry Pi Cookbook by Simon Monk (ASIN 1098130928, ~$45.99) is the reference that belongs alongside any Pi 5 home server build — it covers the Linux fundamentals and Python scripting that a curious beginner will hit within two months of first boot. Hardware gets the server running. The book is what turns a running server into a lasting hobby.